WebUI and Immich Update
If you have previously setup your server using HomeVault v0.1, this article will help you update to the latest version of HomeVault.
There are a few reasons to upgrade to HomeVault v0.2:
- New WebUI to perform install/uninstall operations
- Address breaking changes in Immich version v1.133.0
Step-by-step Guide
[!tip] You should perform these steps while connected to your home network, i.e. the WiFi on the same router as your server.
Follow these steps to get your version of HomeVault and Immich updated to the latest version. Let me know if you run into any issues.
Step 1. Update HomeVault and install the WebUI
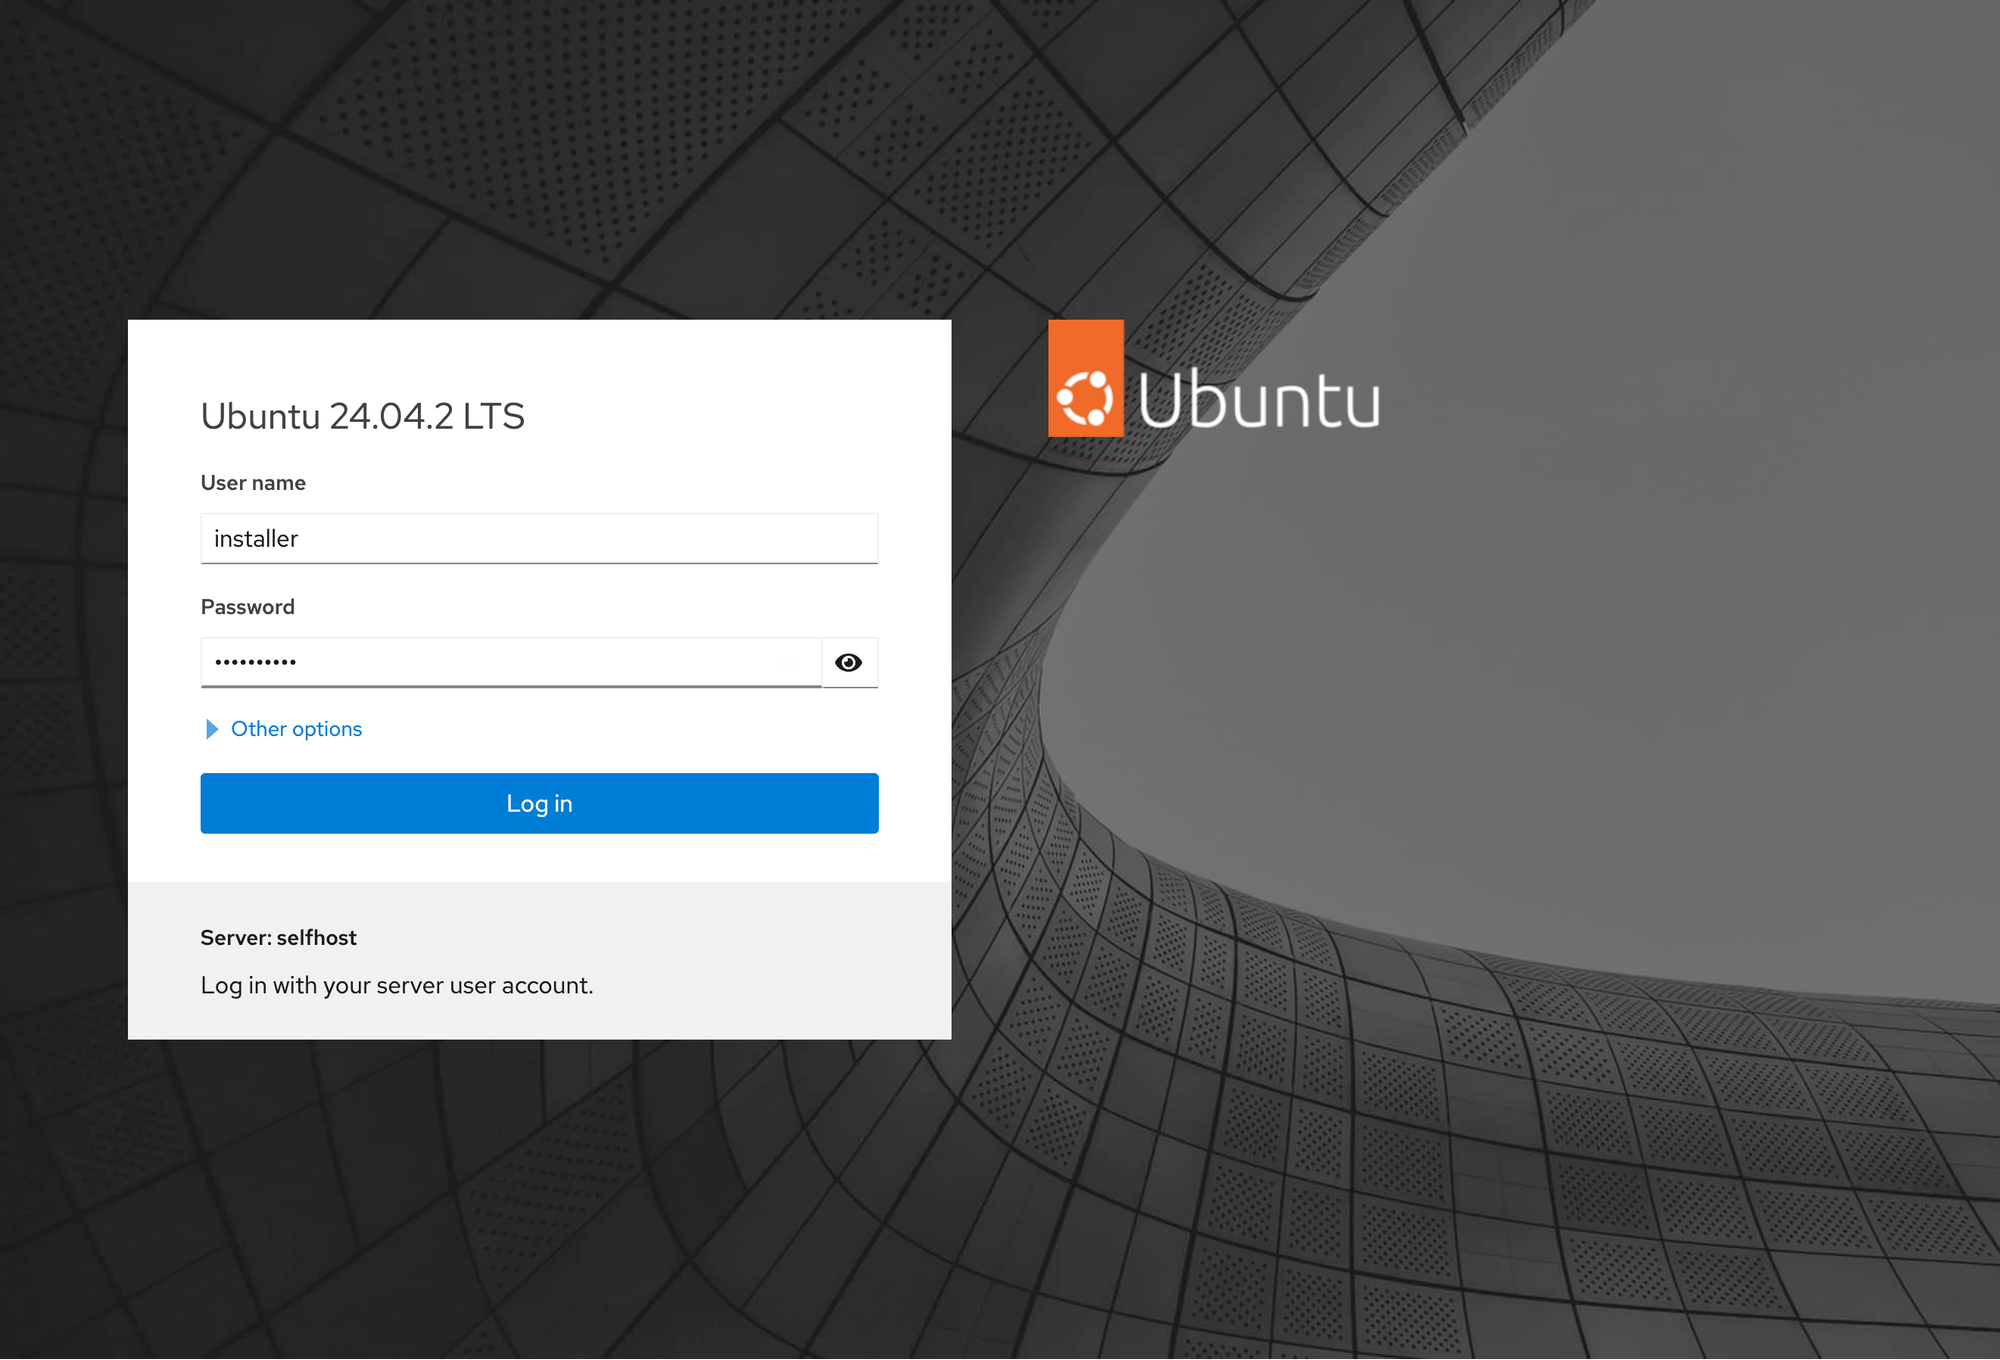
Open a web browser and navigate to your server Cockpit. The address will look like: https://cockpit.yourdomain.com
Sign into Cockpit using the installer account. This is the account you created as part of the Ubuntu installation.
[!warn] Do not sign in using your personal account (the one you use to sign into other apps like Immich or Nextcloud). You must sign in using the installer account.
Using the navigation panel on the left, open the Terminal tool (should be the last item in the list).
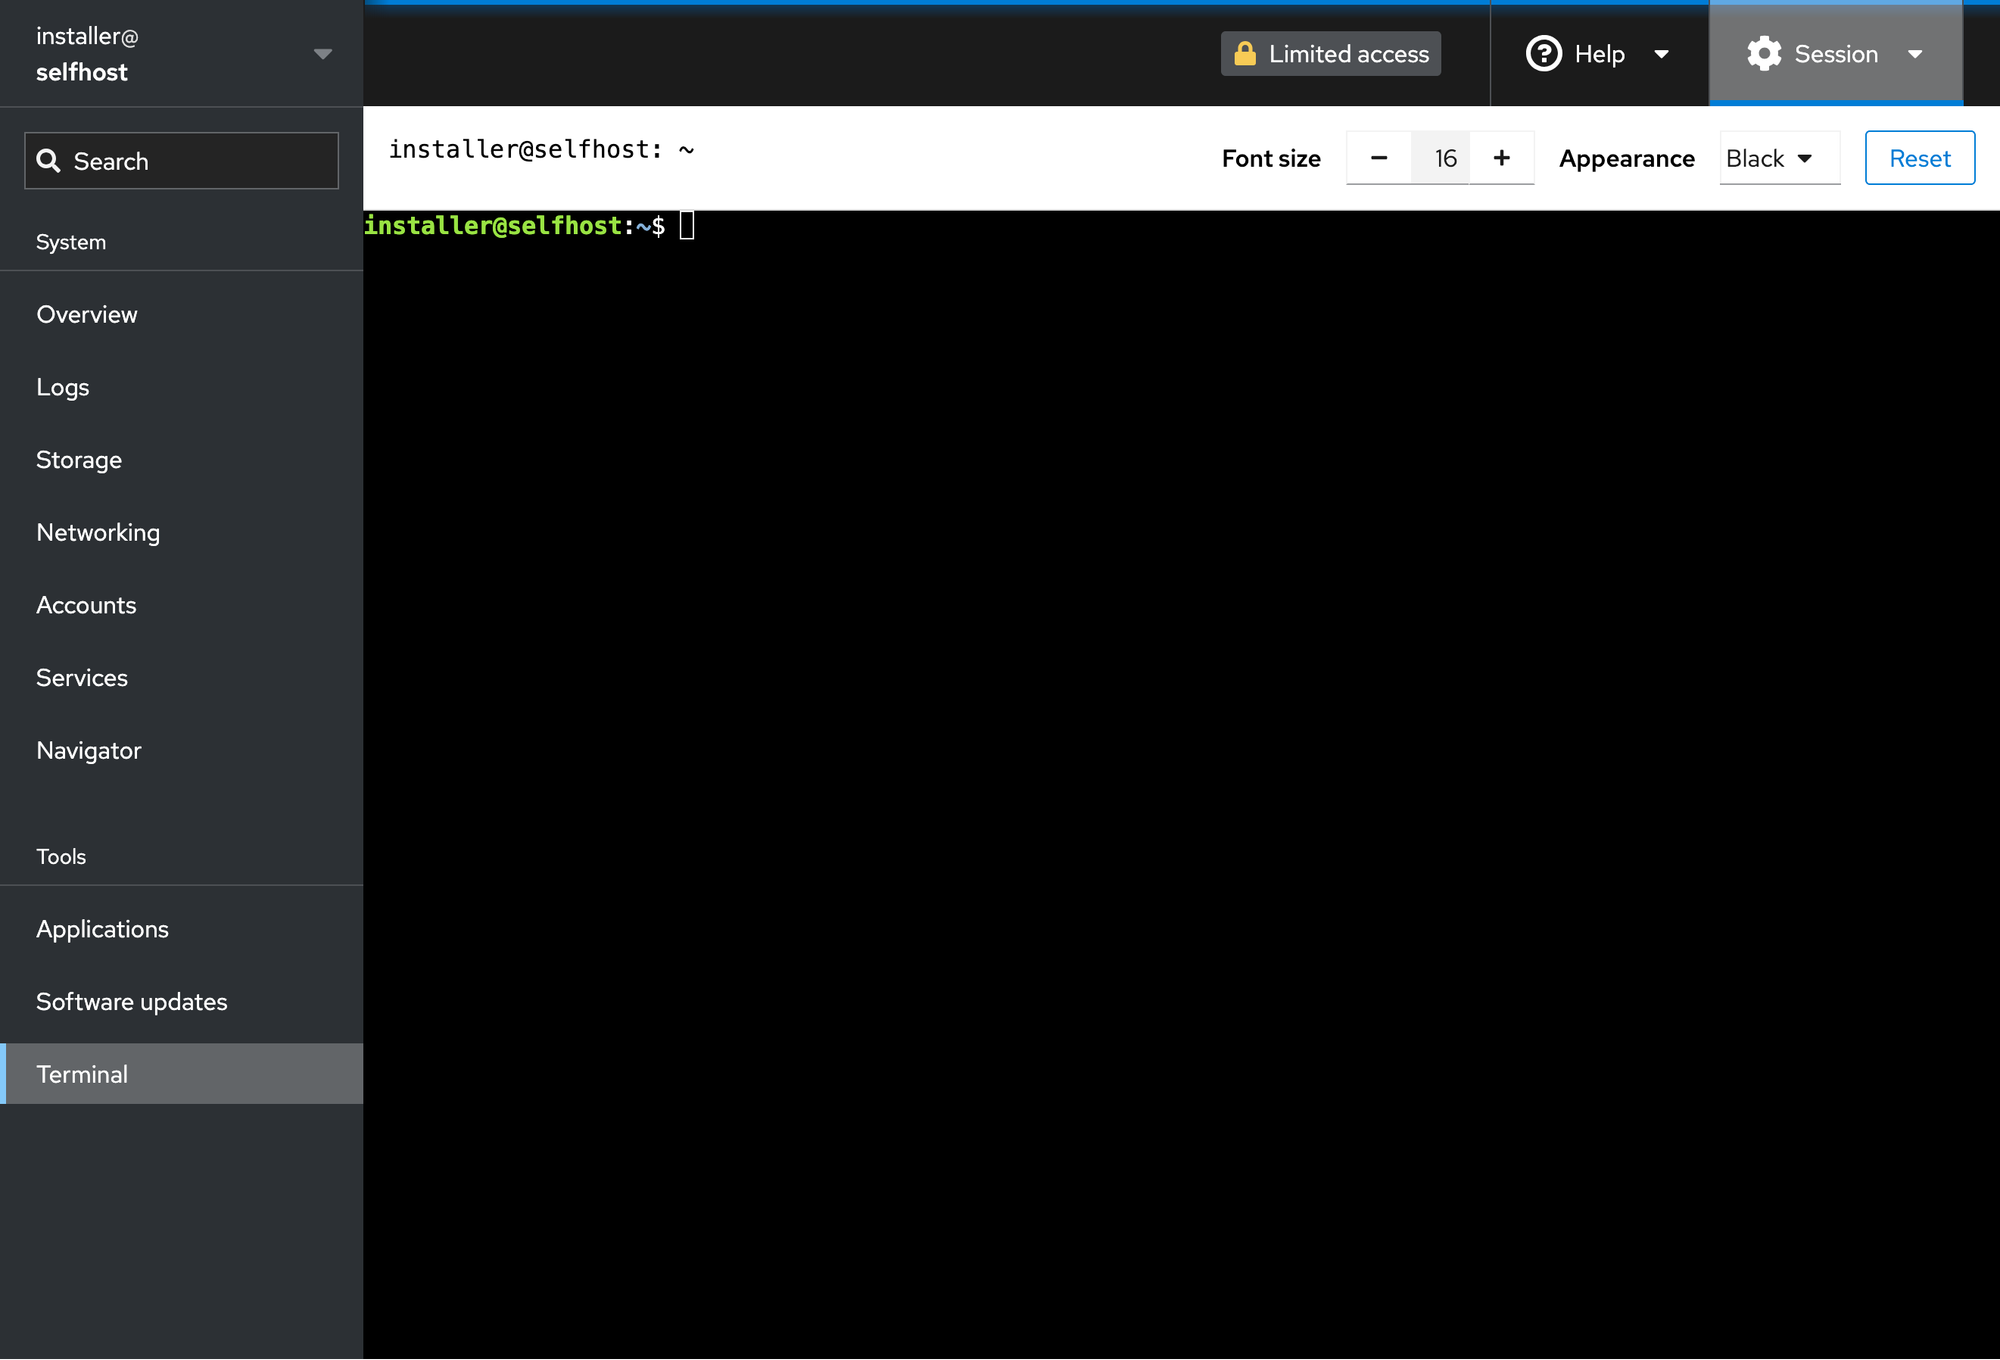
In the terminal, enter the following commands (you can copy/paste to avoid any errors)
mkdir -p ~/homevault/workspace
cd ~/homevault/workspace
rm -rf lib modules webui
curl -fsSL https://github.com/thedebuggedlife/homevault-deployment/releases/latest/download/setup.zip | busybox unzip -o -
chmod +x hv
./hv webui install --skip-deploy
After the installation completes, the address to HomeVault's WebUI should be displayed in the output. It will be something similar to http://192.168.x.x:3000
[!tip] Make sure to copy the address and save it somewhere safe. You will need it in the next step and any time you want to manage your server using HomeVault's WebUI
=============================================
WebUI Location

Internal: http://192.168.6.205:3000

To check service status:

  sudo systemctl status homevault-frontend
  sudo systemctl status homevault-backend

To view logs:

  sudo journalctl -u homevault-frontend -f
  sudo journalctl -u homevault-backend -f

🎉 All operations completed successfully
You can now sign out of Cockpit, or simply close the browser tab.
Step 2. Uninstall Immich using the WebUI
[!info] Uninstalling Immich first is required to follow their upgrade instructions. Do not worry, this step will NOT delete any of your existing information.
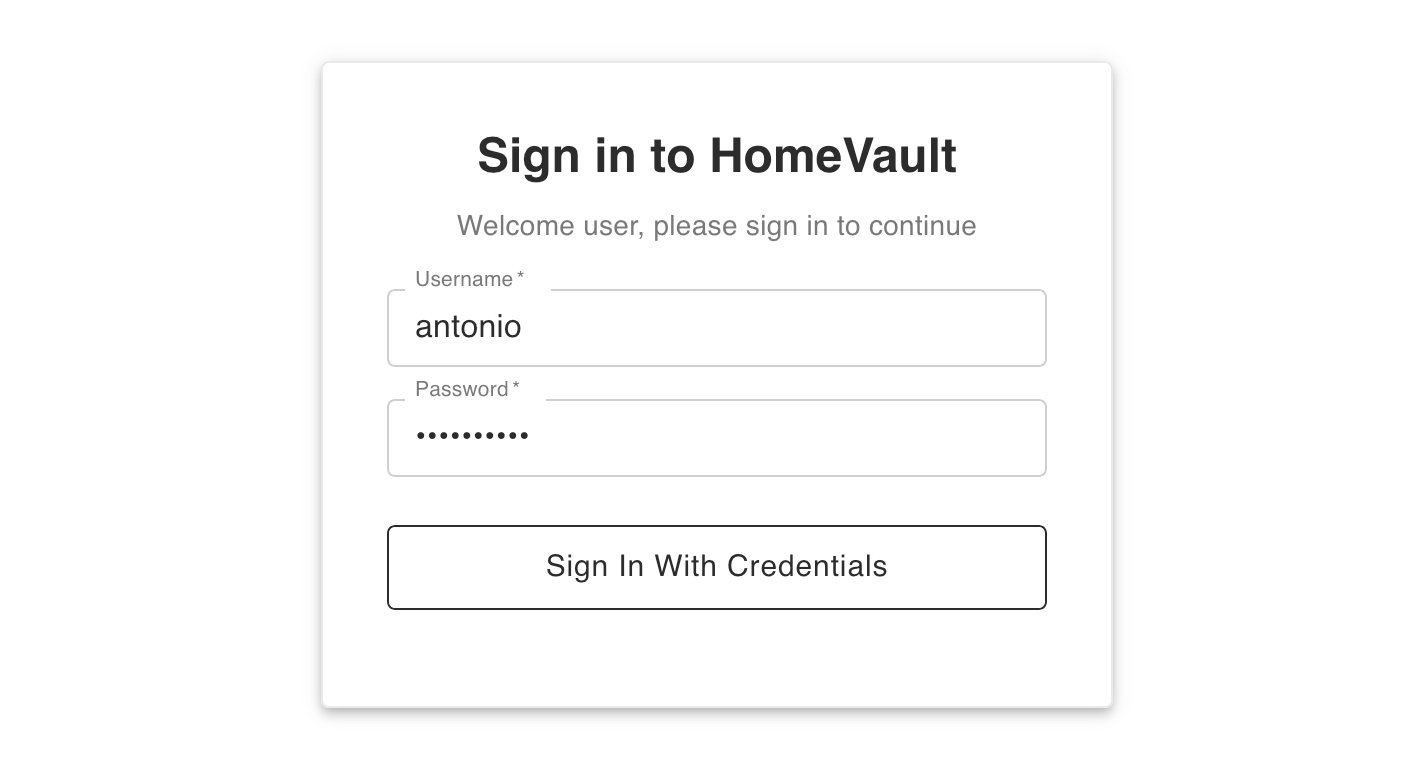
Navigate to HomeVault's WebUI using the address you copied at the end of the previous step. You can sign in using either the installer account or your own personal account (the one you use for Immich, Nextcloud, etc.)
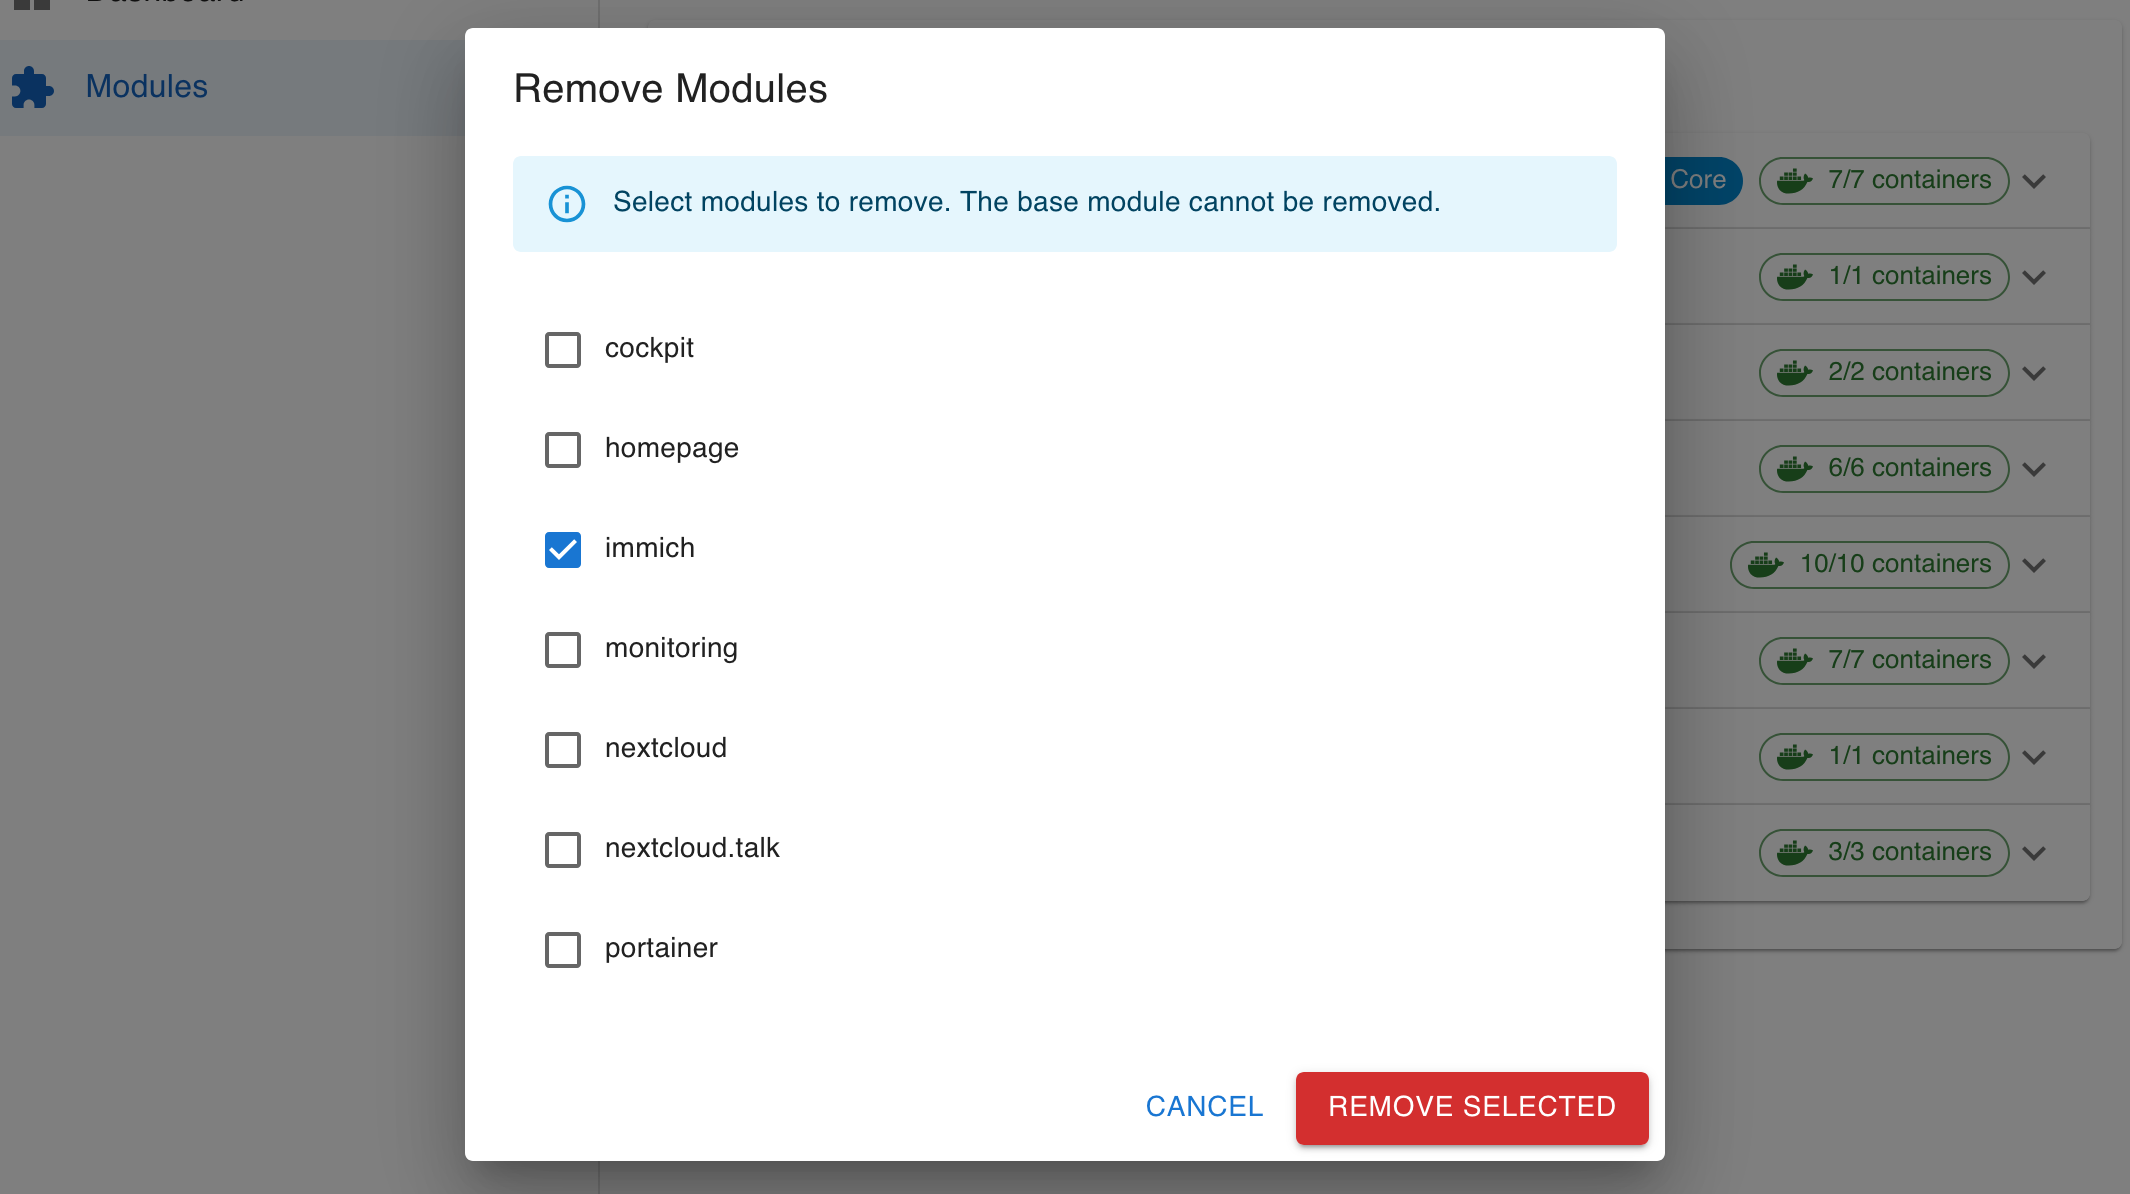
Once signed in, select the Modules section on the left-hand navigation panel. In this section you will see a list of the modules that are installed on your server. Click on the Remove Modules button at the bottom of the table.

In the dialog that follows, select only the Immich module and click on Remove Selected. Then, click Remove on the confirmation dialog.
You will be taken to the Deployment page. Confirm that only the Immich module is selected, and click on Begin Deployment.
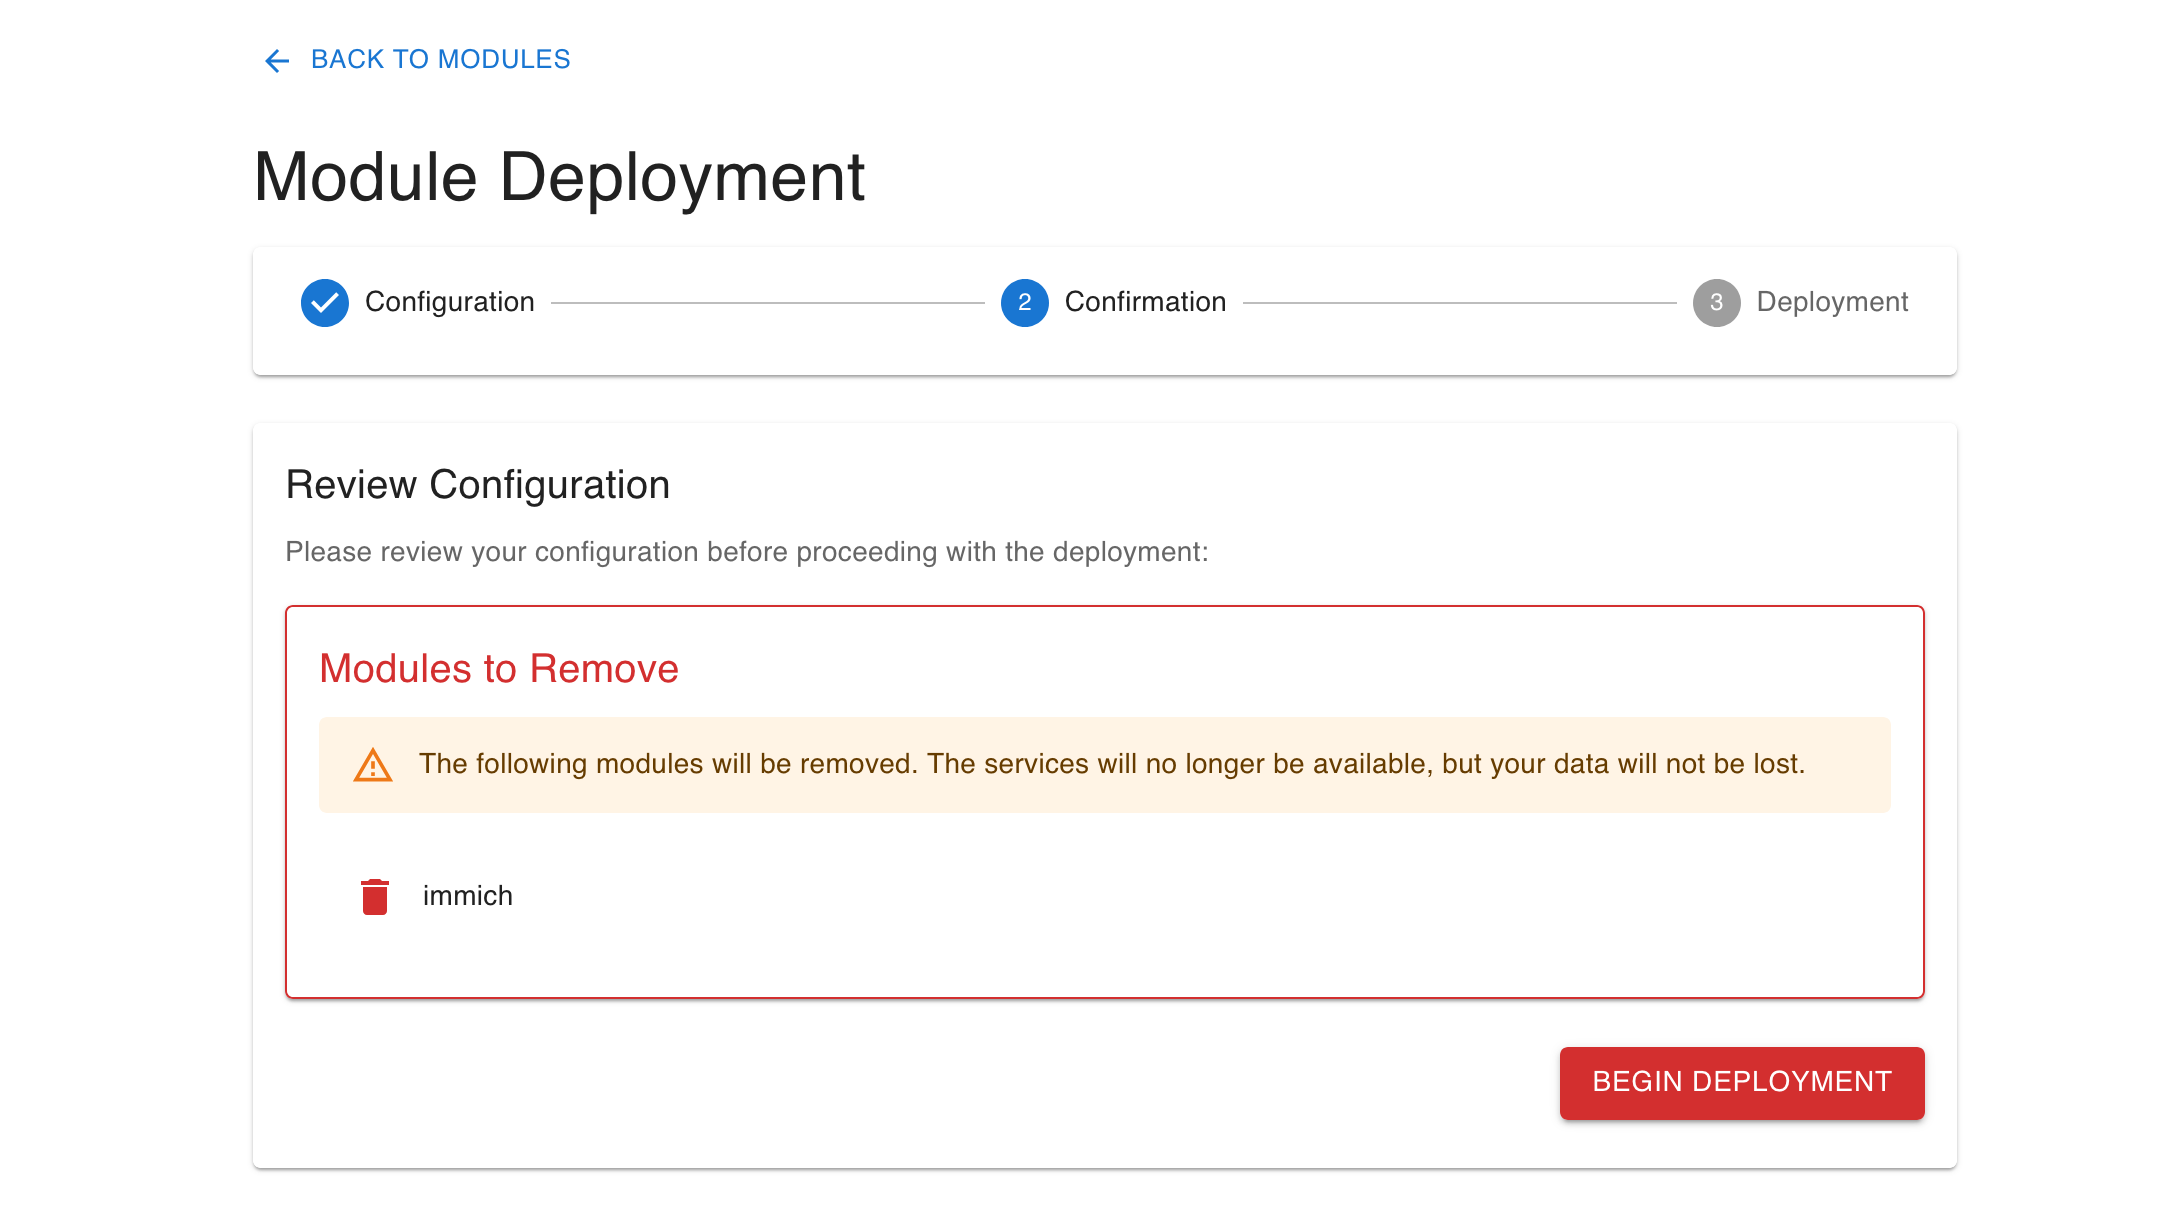
You will be asked to enter the password for the installer account. This is the account you created when installing Ubuntu.

You should see the progress of the operation on the terminal window. Wait for the operation to complete.
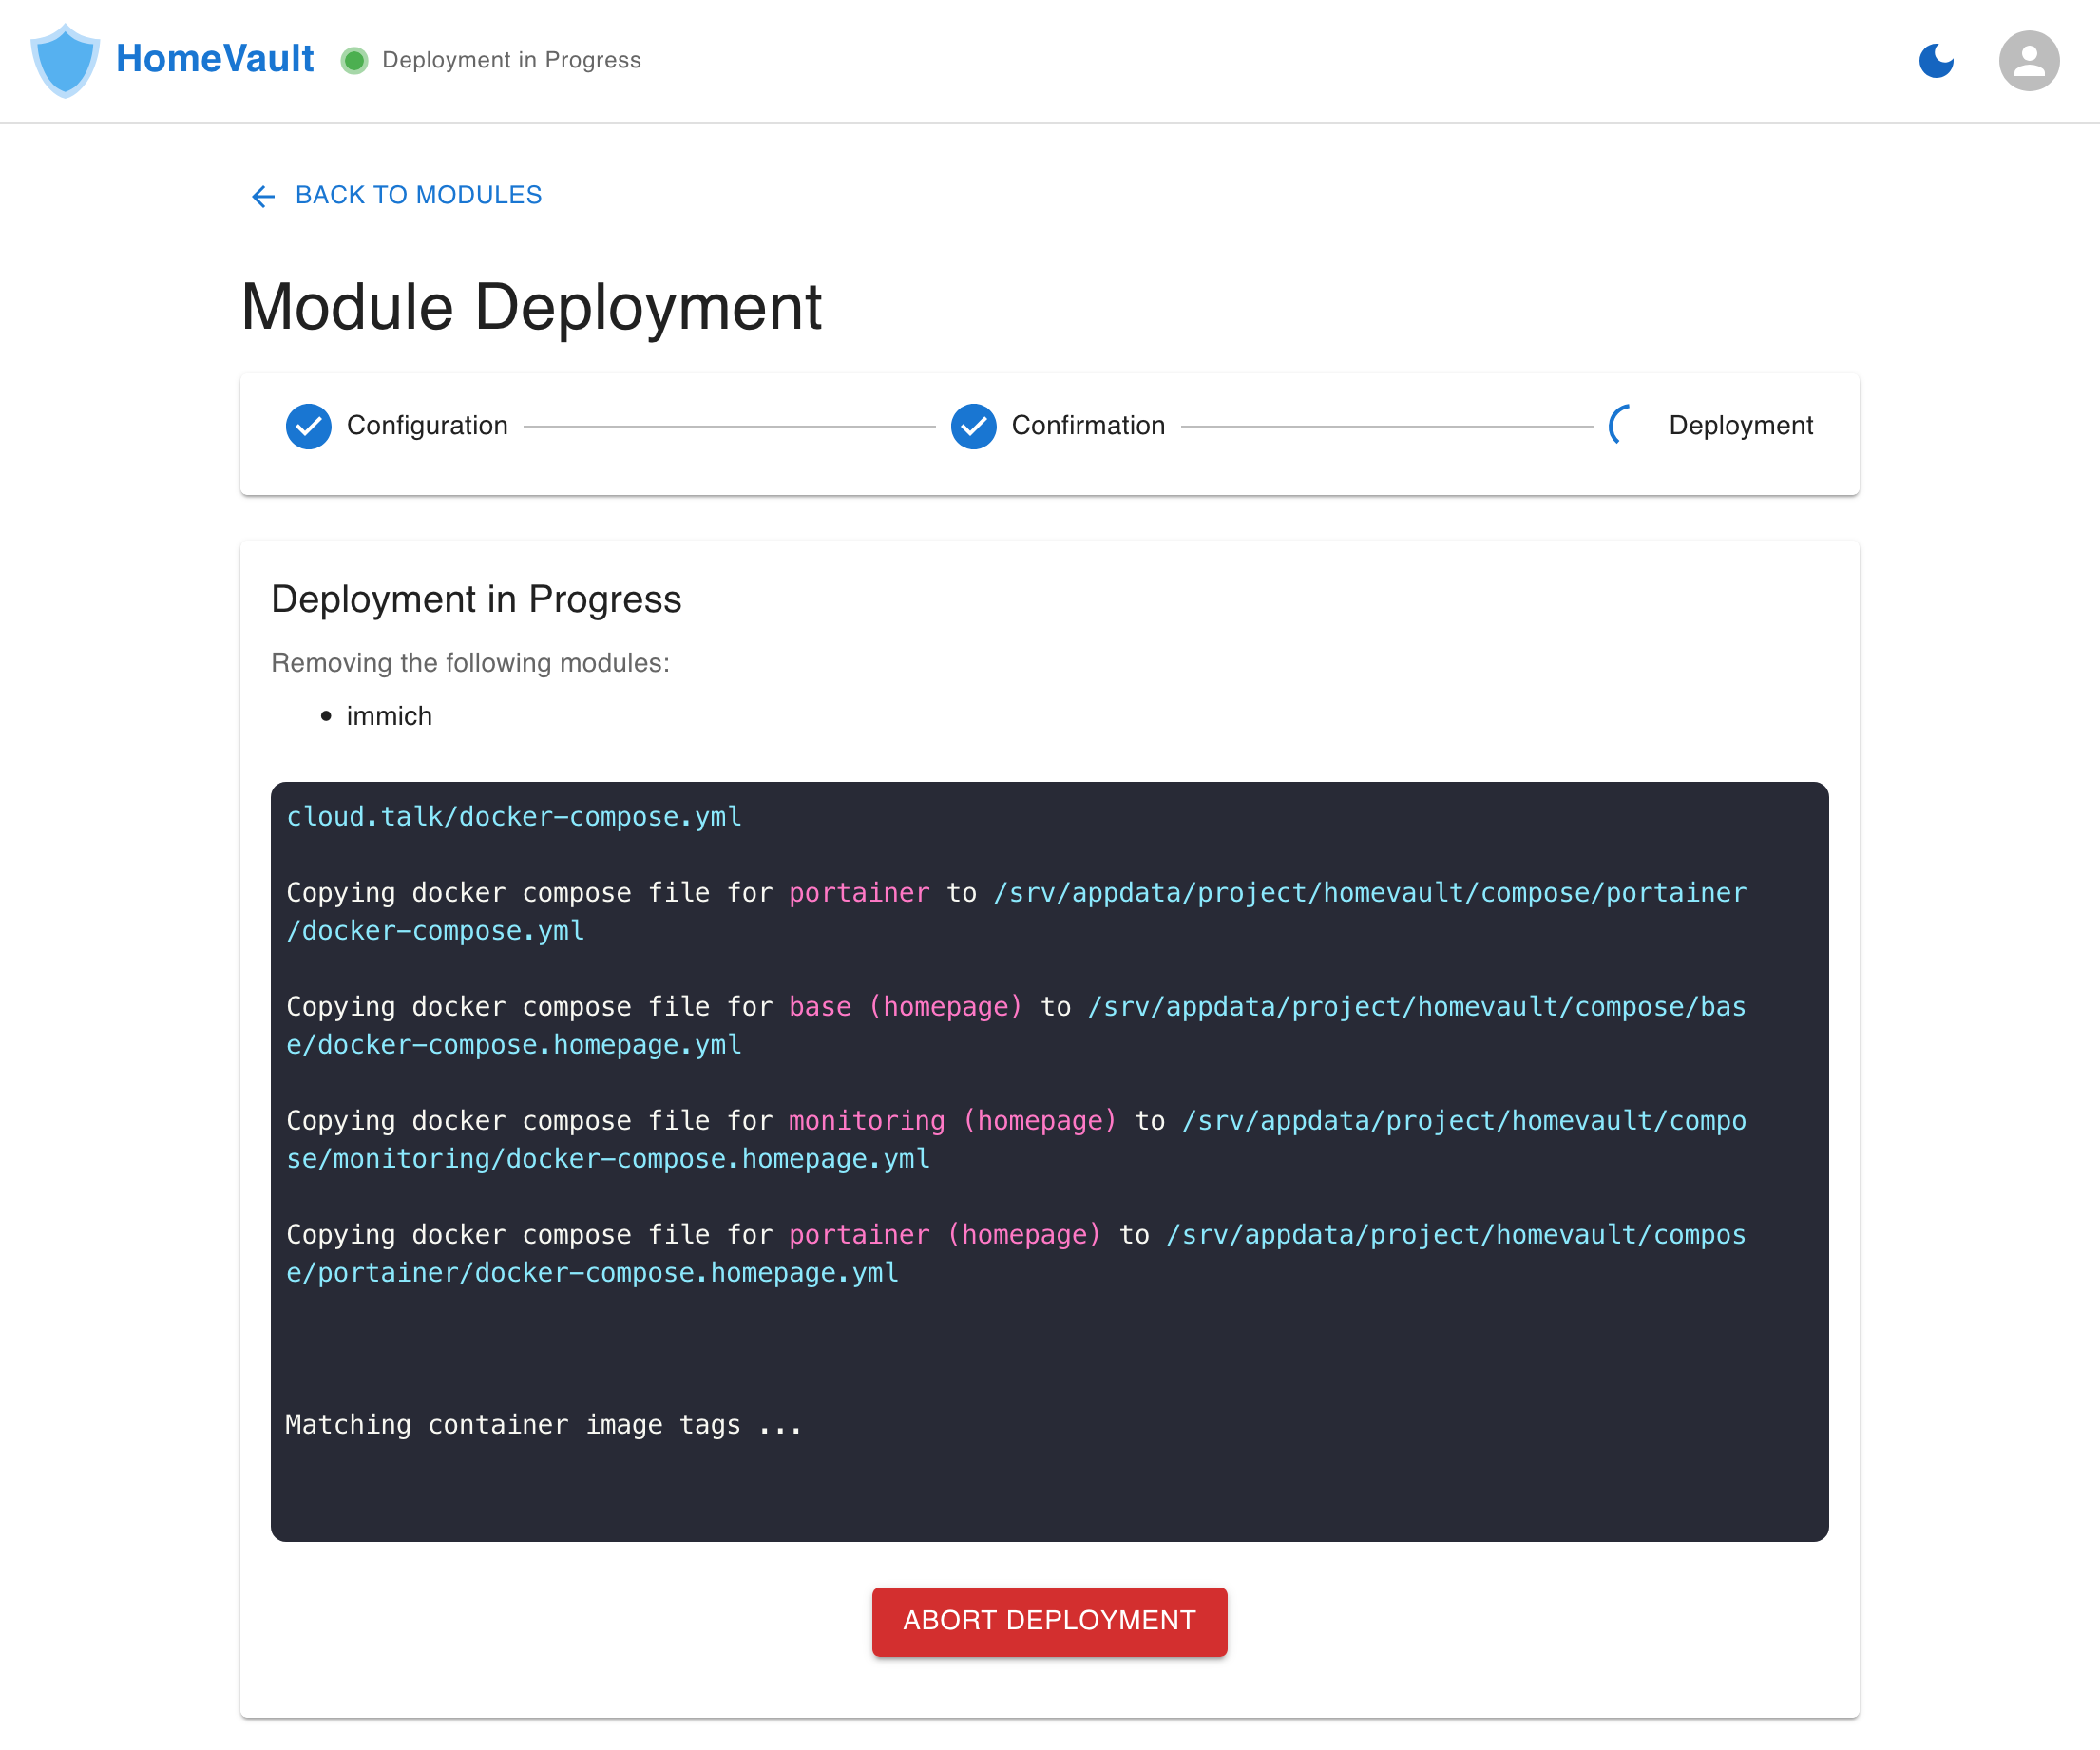
Once the operation completes, you can click on the Back to Modules button that shows at the bottom of the terminal window.
Step 3. Reinstall Immich using the WebUI
[!info] After re-installing Immich, your photos and other account information will be available in the new version of Immich.
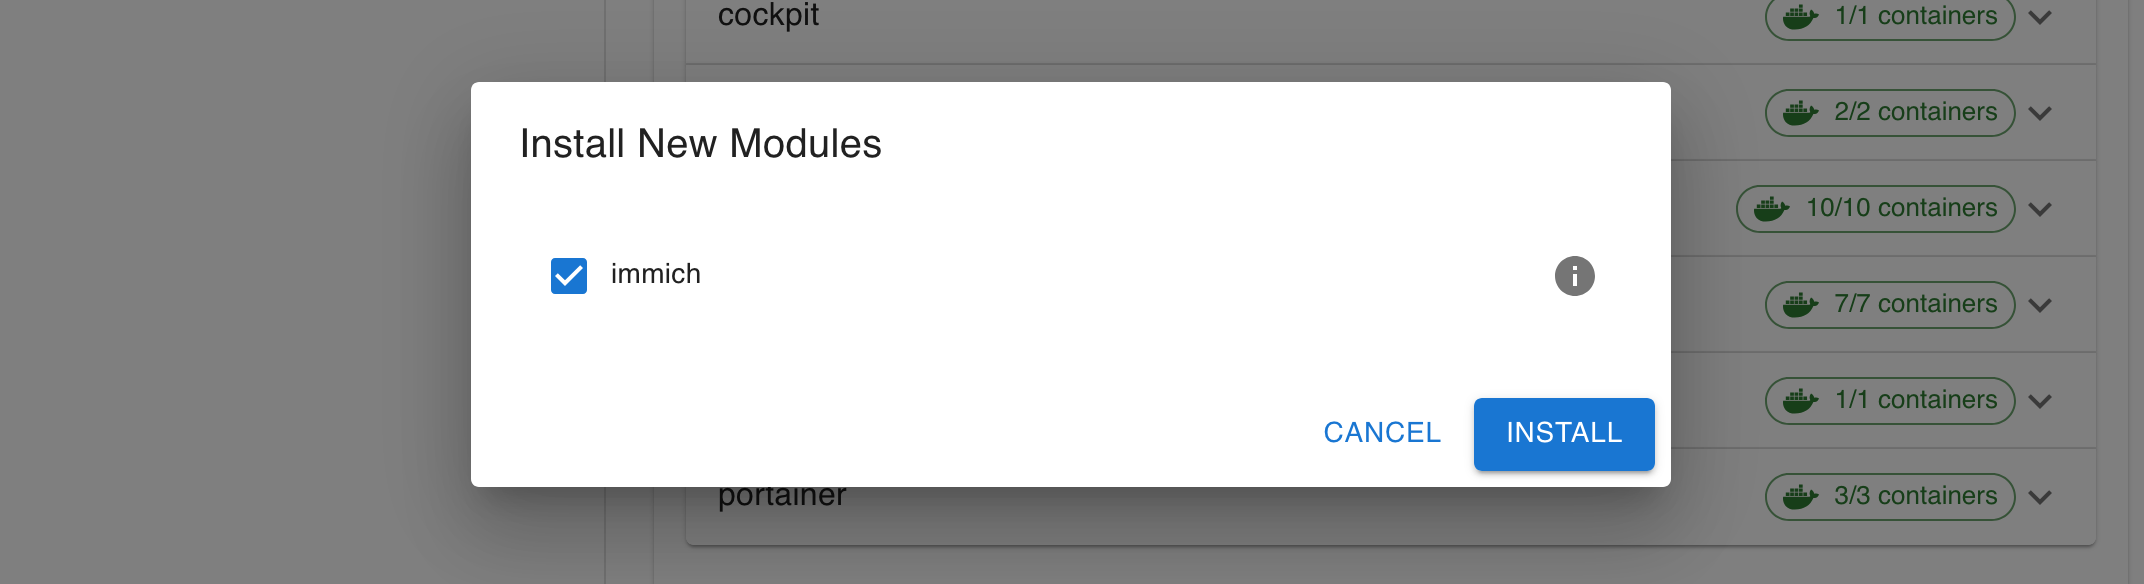
In the Modules section of HomeVault's WebUI, click on the Add Modules button. In the dialog that follows, select the Immich module and click on Install
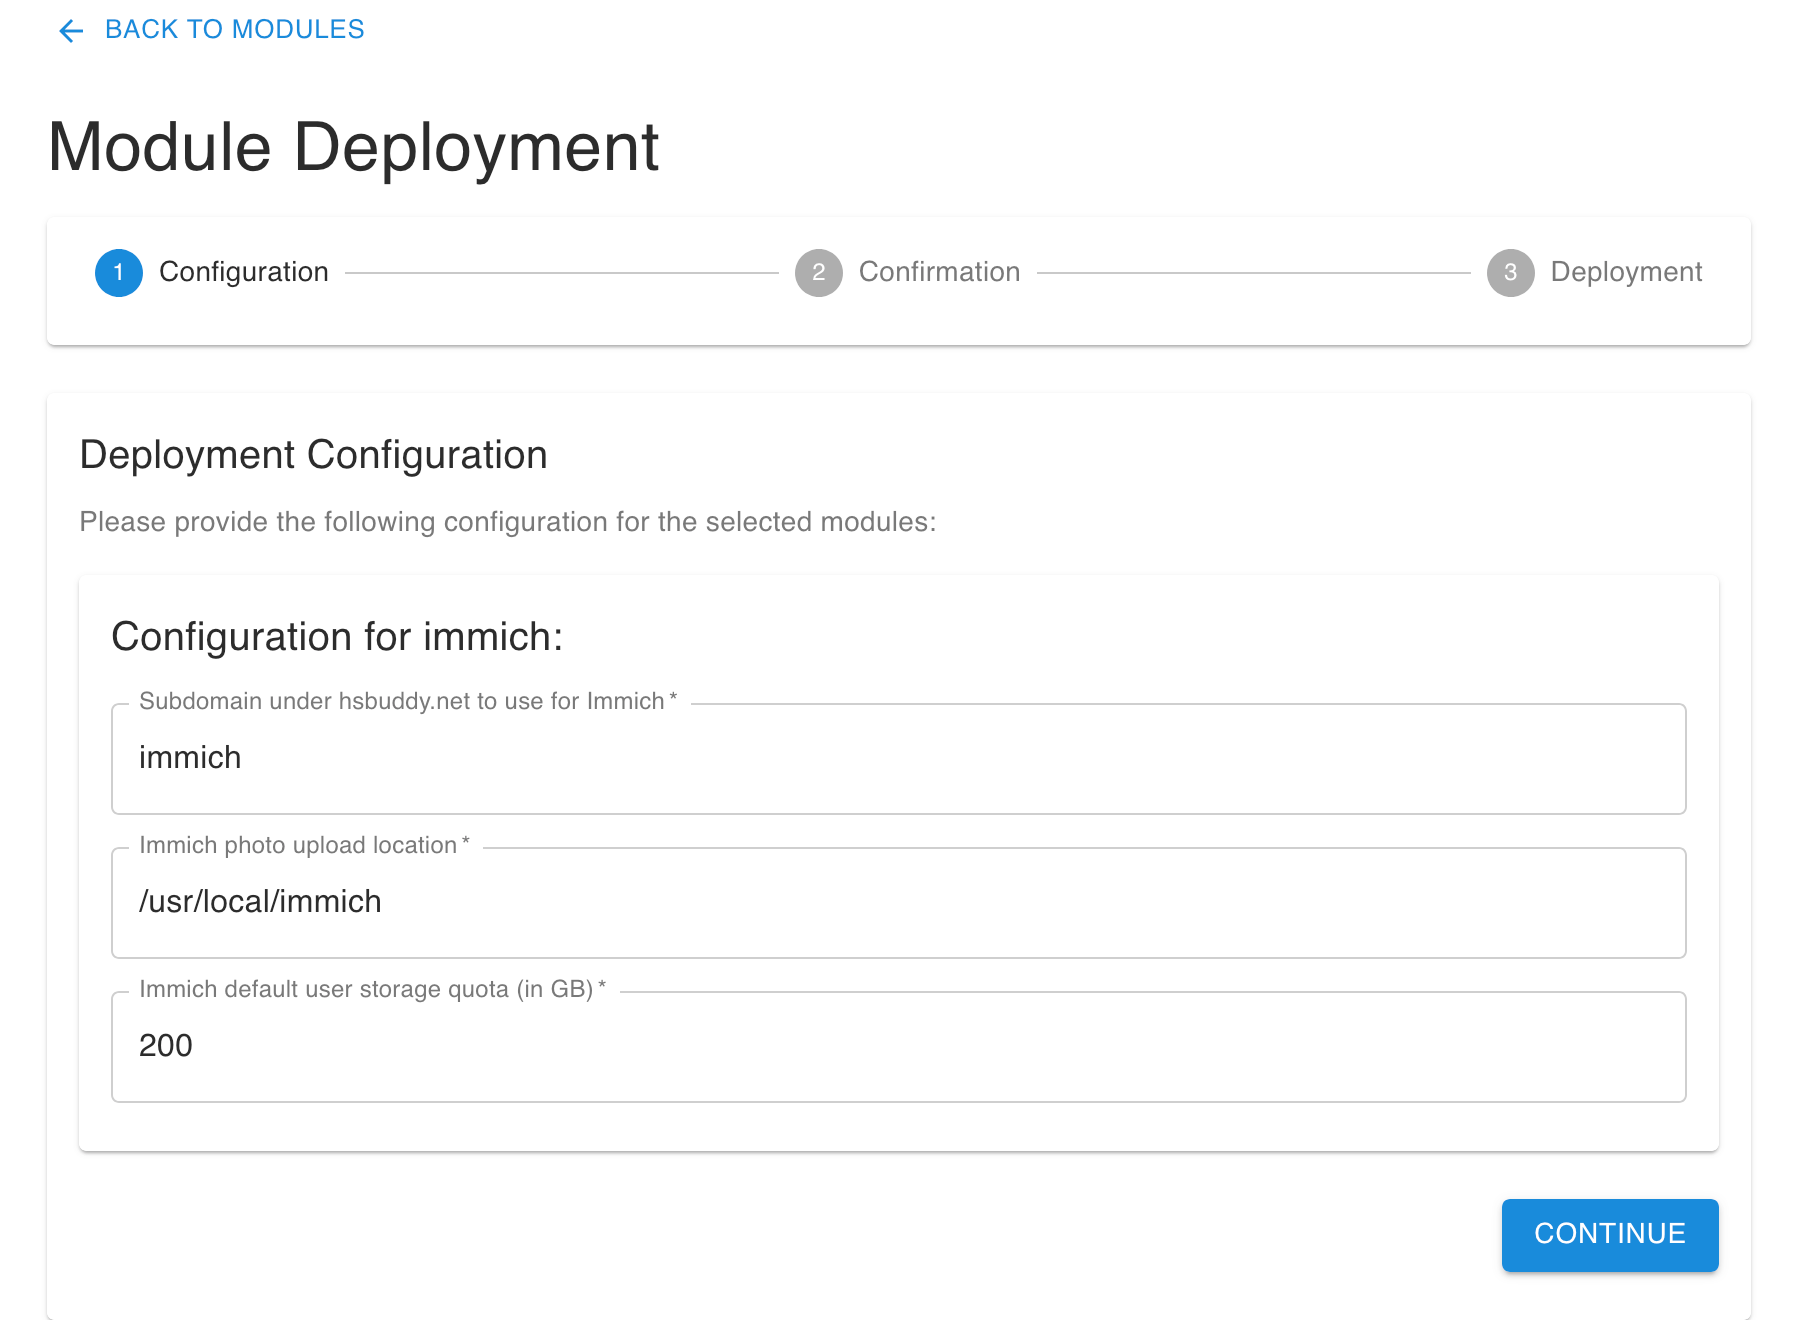
You will be taken back to the Deployment page. The settings in the Configuration step are pre-populated with the values you selected during the original installation of Immich.
[!tip] Do not make any changes in this page. Simply click Continue
Once in the Confirmation step, click Begin Deployment to start the operation.
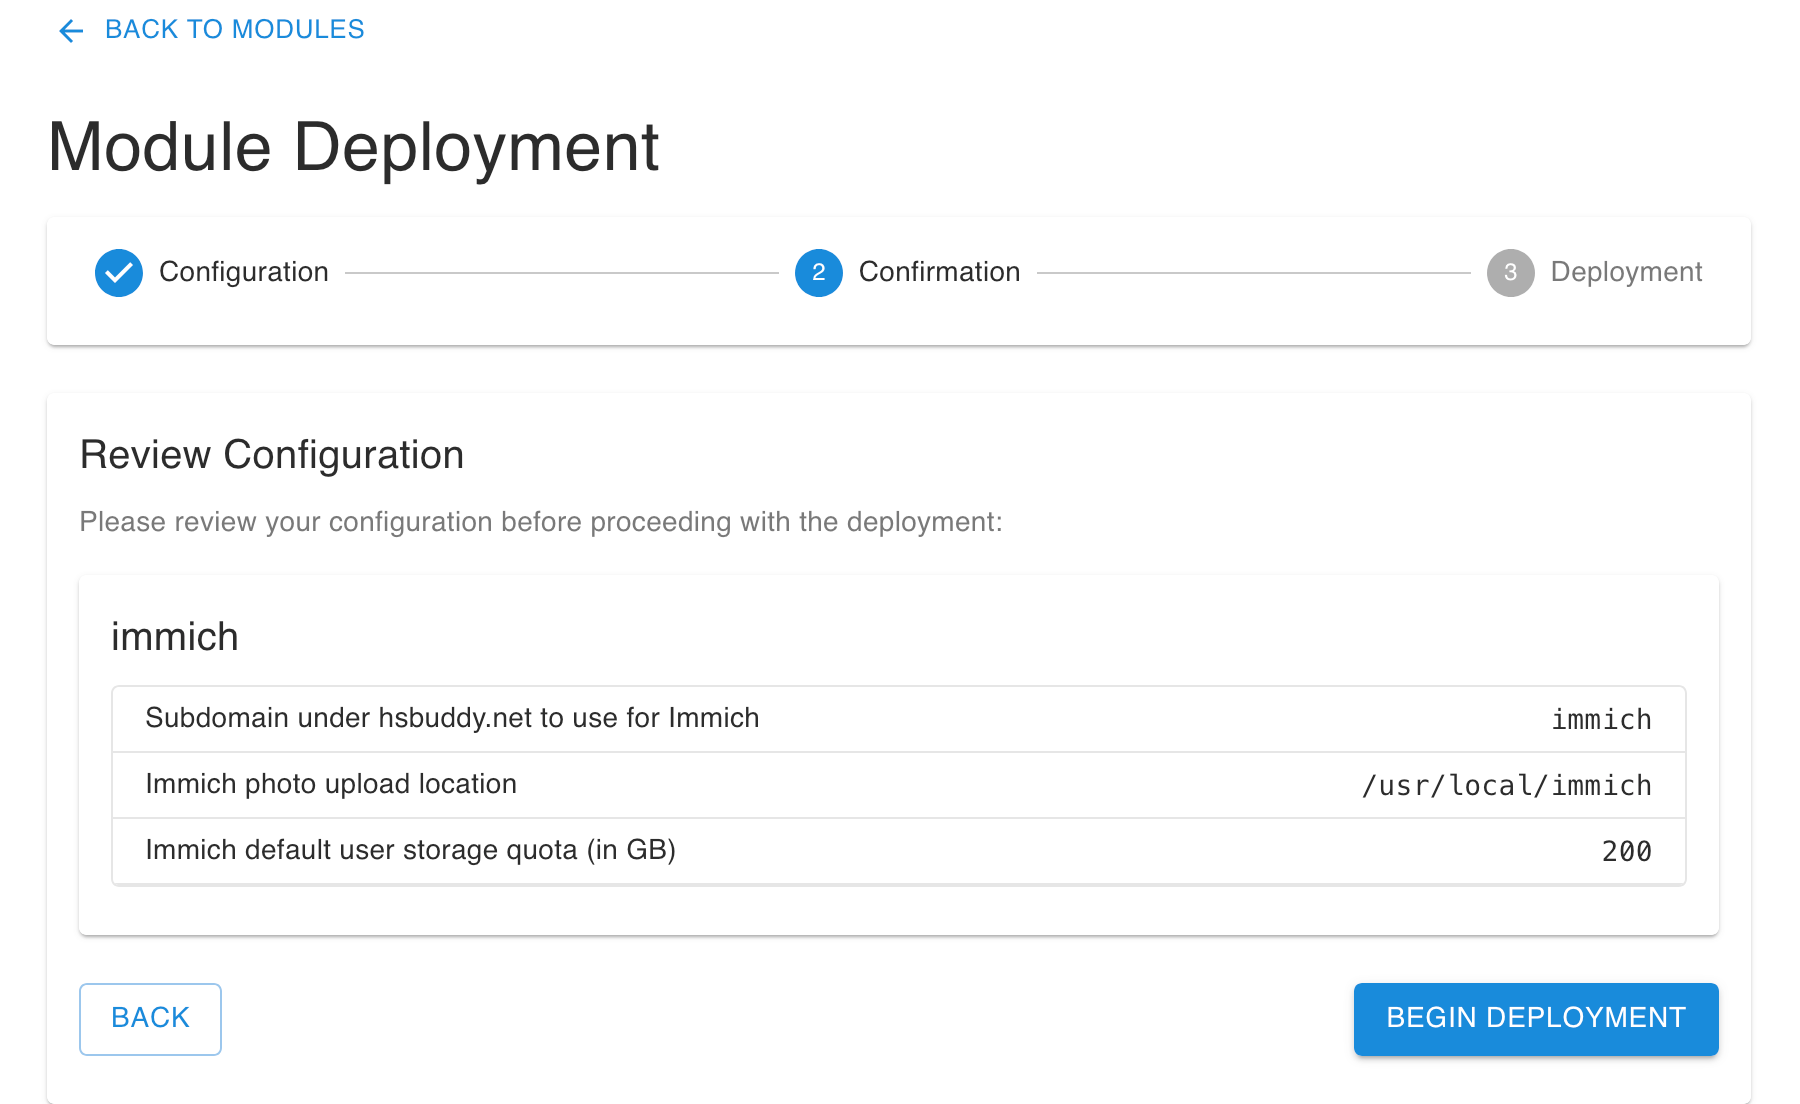
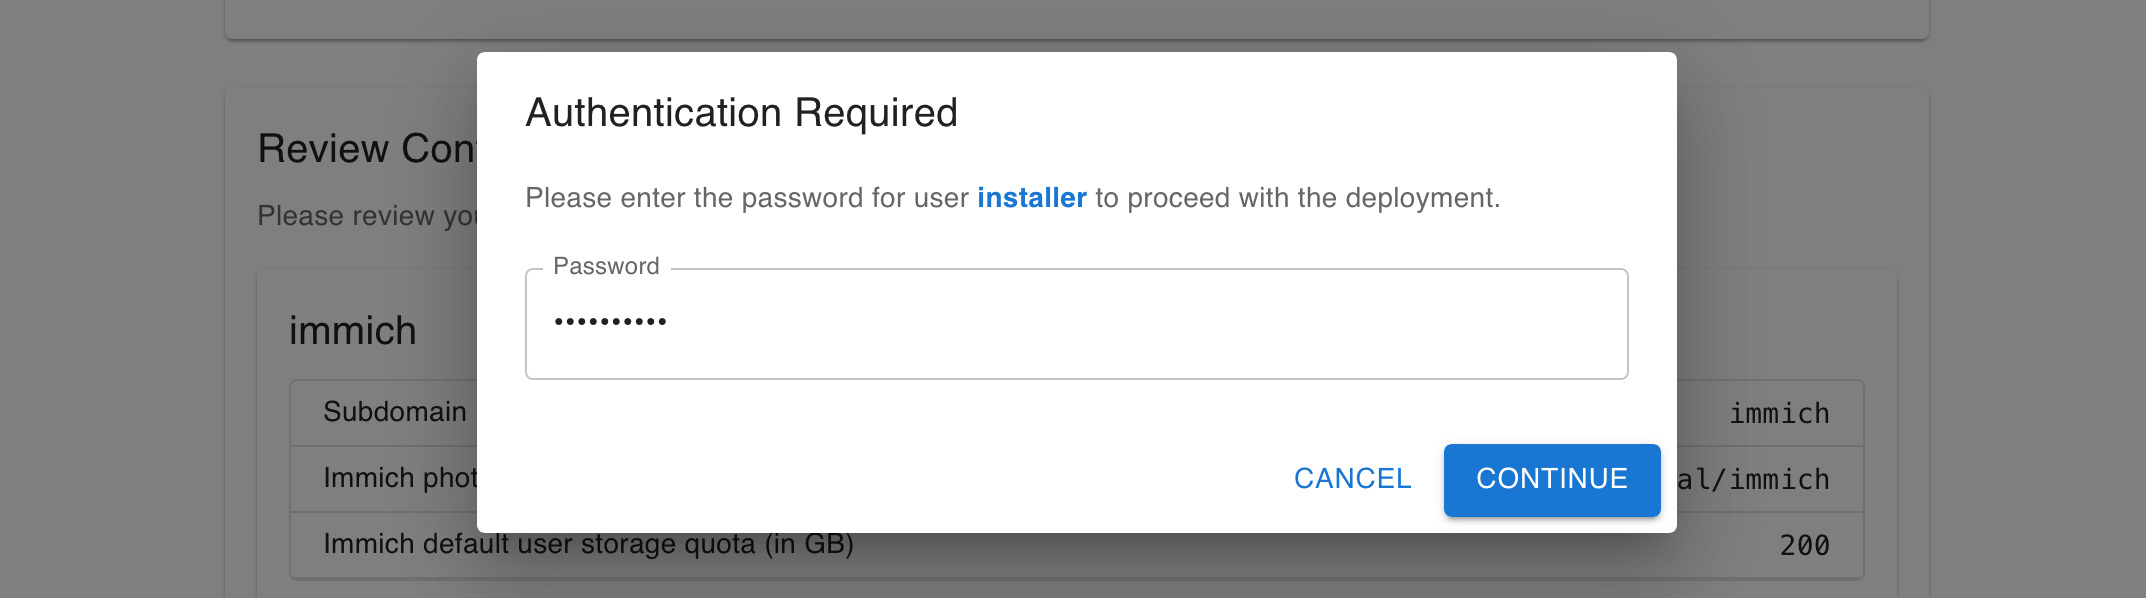
You will see a pop-up where you need to confirm the password for the installer account. This is the account you created during the installation of Ubuntu.
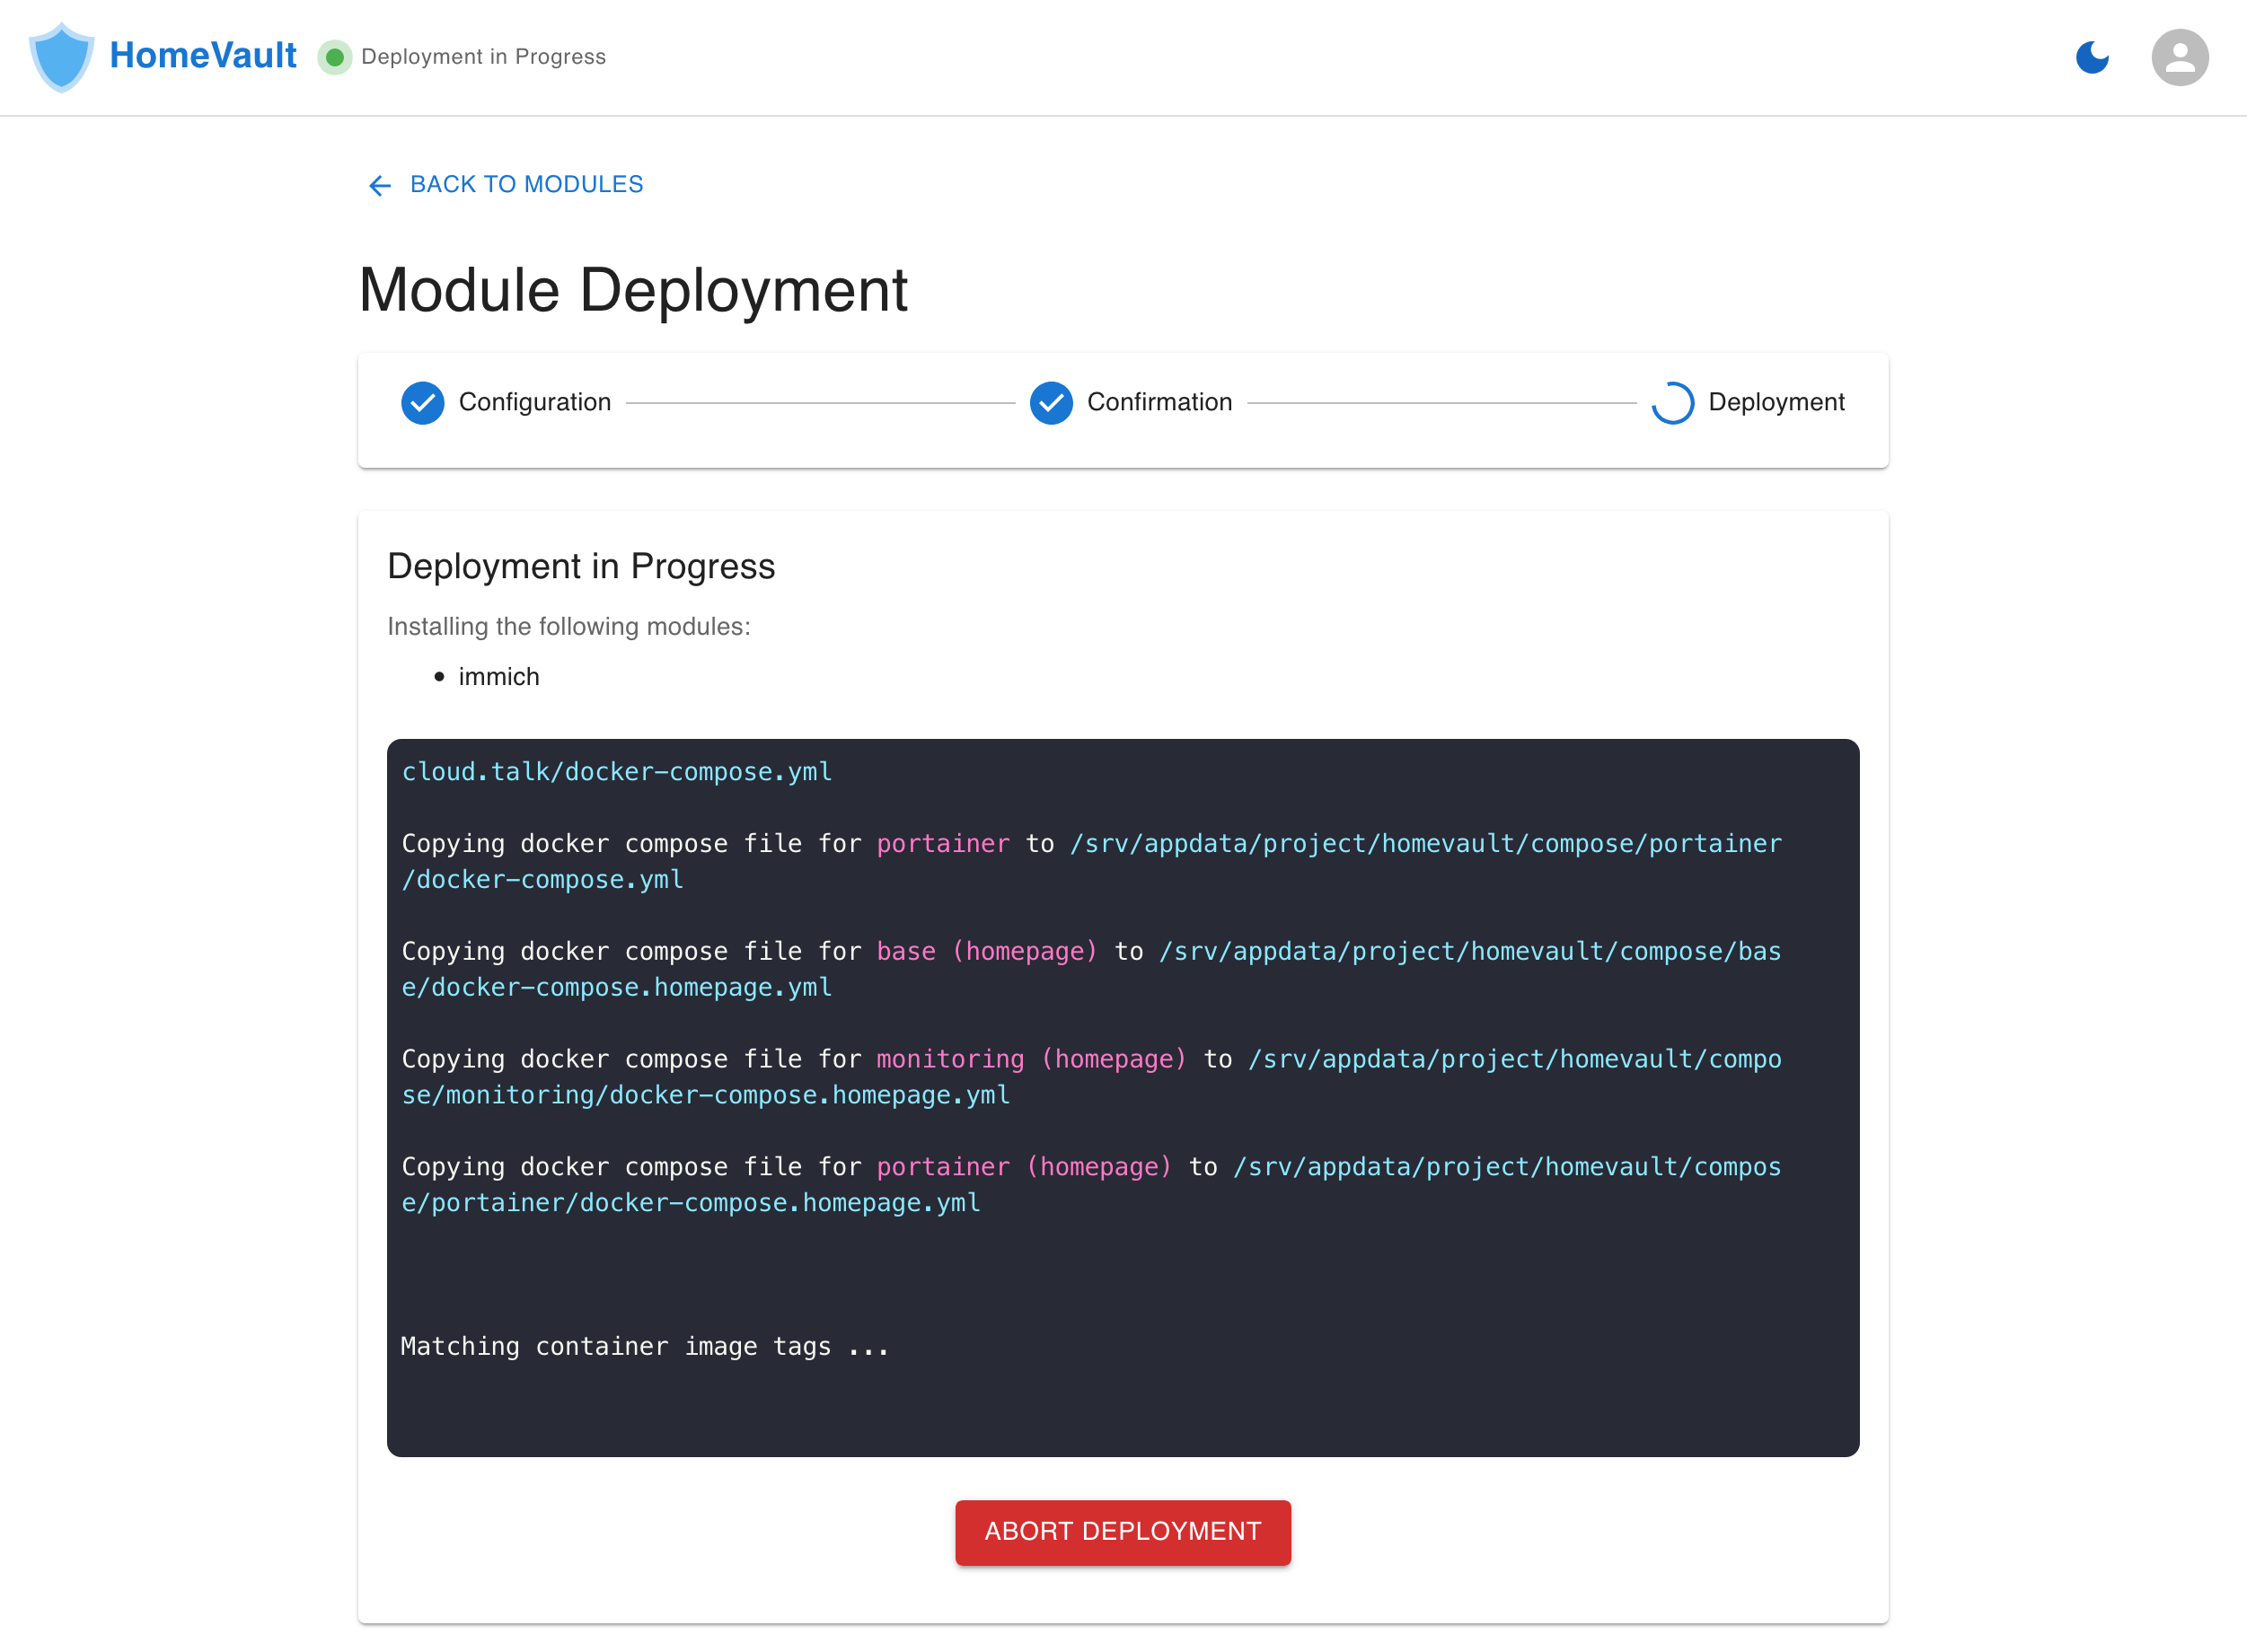
You will see the Deployment progress in the terminal window. Wait for the operation to complete.
Once the deployment completes, click on the Back to Modules button at the bottom of the screen. You should now see Immich back again in the list of installed modules.
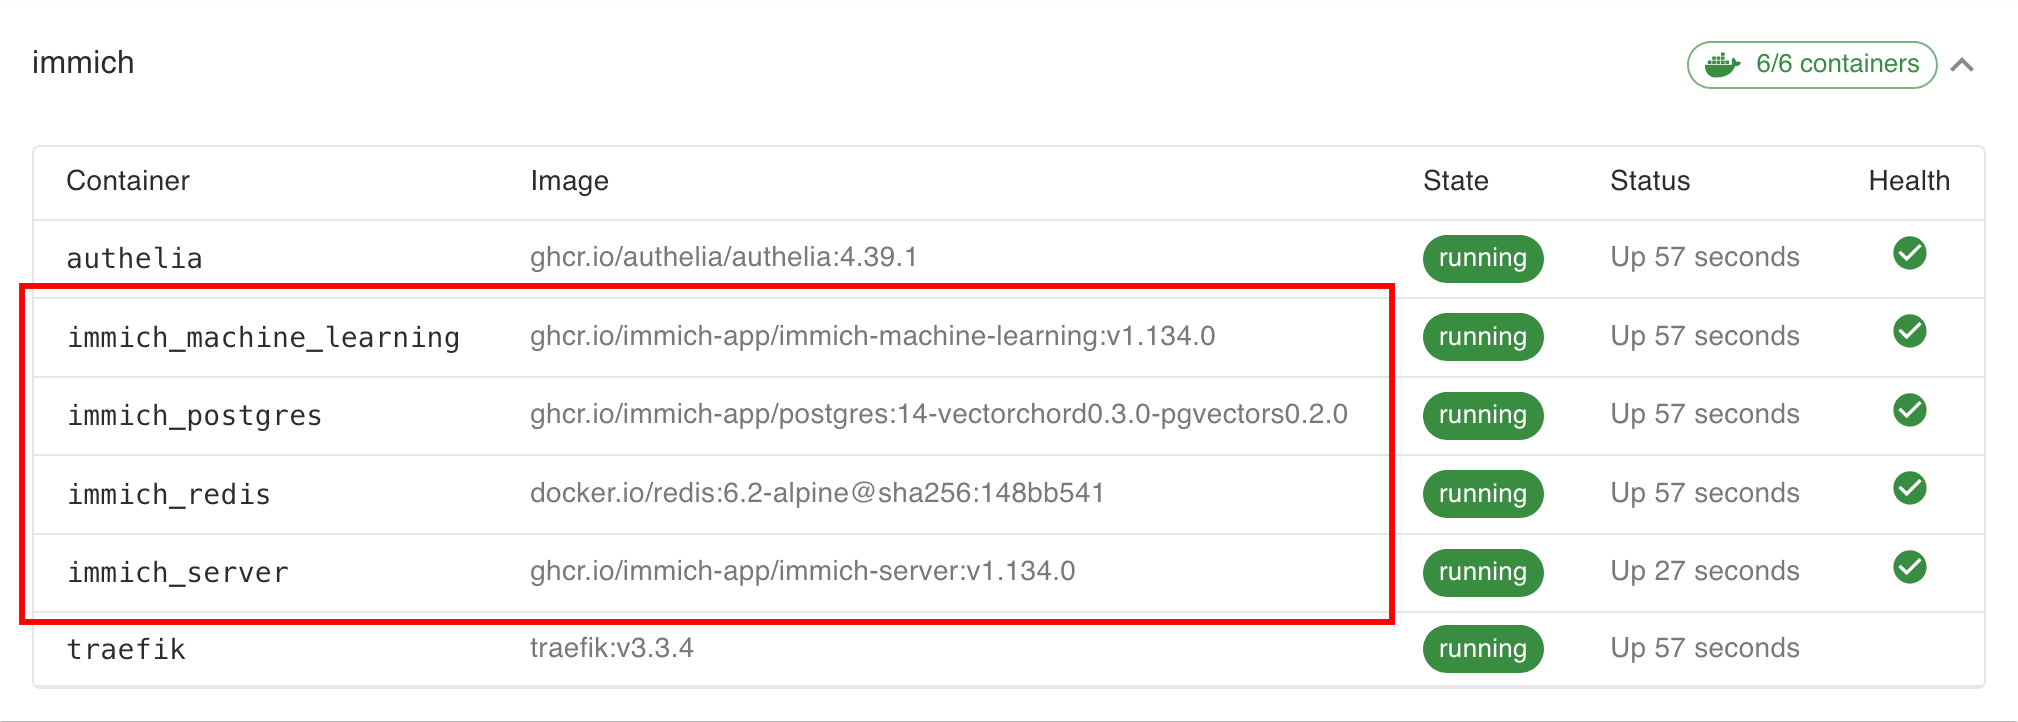
Expand the row for Immich and check that the versions for all the containers with a name starting with immich_match the values in the following table:
Frequently Asked Questions
Below you can find answers to some questions related to this update.
Why not use WUD to ugprade Immich?
You would normally use What's Up Docker (WUD) to the applications on your server. WUD should be accessible at https://updates.yourdomain.com by default.

However, with version v1.133.0, Immich made a breaking change that requires a different configuration of its database. Simply upgrading the version of Immich using WUD would leave your instance of Immich running in a configuration that is no longer recommended.
Installing the update using the steps outlined in this guide takes care of replacing Immich's database at the same time that it bumps the version of Immich to the latest available at this time (v1.134.0)
From this point forward, you can continue to update Immich using WUD, the same way you do for all other applications on your server.